Exciting Product Updates to Enhance Your Communication Systems: 4.1.0 R2
We’re thrilled to share a series of updates and improvements we’ve rolled out to ensure that your experience with our communication solutions is not only
VitalPBX One is the all-in-one solution designed to improve your business's collaboration and communication to new levels
Ideal for any size and type of business.
Get features that cover all your call center needs
Manage multiple PBX's on the same server
Experience a fully featured Switchboard, Recording Manager, Call Center Statistics, Call Account, and Call Center Dialer, system,
The add-ons module allows you to install new modules in order to expand the PBX capabilities and add new features.
Communicate anywhere with VitXi, our full WebRTC client exclusively for your VitalPBX installation.
With VitalPBX Connect, you can make and receive business calls on your smartphone.
An advanced windows softphone for call center which integrates presence, chat, video call, BLF, and much more.
We can help with everything from implementation assistance to upgrades and production down emergencies.

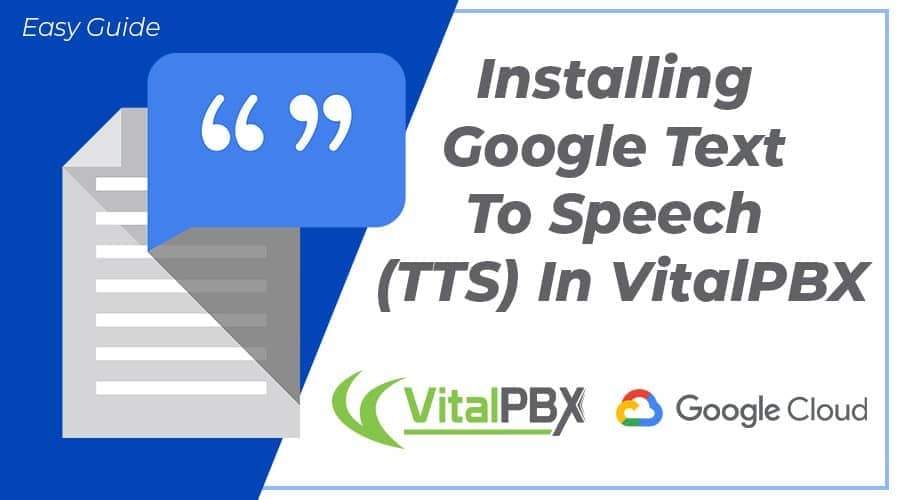
Below, we will show you how to install everything necessary to use Google Text to Speech in your VitalPBX installation.
1.- Connect via an SSH client to the VitalPBX console.
2.- Download the installation script, give it execution permissions, and run the script:
[root@vitalpbx /]# cd /tmp
[root@vitalpbx tmp]# wget https://raw.githubusercontent.com/VitalPBX/Google_TTS_VitalPBX/master/install.sh
[root@vitalpbx tmp]# chmod +x install.sh
[root@vitalpbx tmp]# ./install.sh
After executing the install script, you may dial *887 to testing the Text-to-Speech in different languages.
If you would like to modify the file that contains the sample dialplan, you must go to “/etc/asterisk/ombutel/extensions__60-google_tts.conf”. After modifying the file, you have to reload the dial plan with the following command:
[root@vitalpbx /]# asterisk -rx"dialplan reload"
As you can see, utilizing the script we made, it is easy to use Google Cloud’s Text to Speech abilities with VitalPBX.
Read our tutorials and guides on how to implement new tools and technologies for your business with VitalPBX here.
Learn more about VitalPBX, our services and how we can help you achieve your goals in our official website.

We’re thrilled to share a series of updates and improvements we’ve rolled out to ensure that your experience with our communication solutions is not only

The VitalPBX team is thrilled to announce the rollout of VitalPBX 4.1 R1, a significant update that brings cutting-edge features and improvements to your communication

PBX System Recognized for Industry Innovation Miami, Florida, 02/27/24 — VitalPBX announced today that TMC, a global, integrated media company, has named VitalPBX Unified Communications

VitalPBX provides a robust and scalable platform, which will allow you to manage your PBX in an easy and intuitive way.