
Releases
Exciting Product Updates to Enhance Your Communication Systems: 4.1.0 R2
We’re thrilled to share a series of updates and improvements we’ve rolled out to ensure that your experience with our communication solutions is not only

In this blog post, we are going to talk about how to integrate ClearlyIP Trunking with VitalPBX. From VitalPBX version 3.0.2-1, we have introduced a new add-on that allows connecting to ClearlyIP services with just a couple of clicks.
Here, we will see how to configure this module from scratch on VitalPBX. From getting the key code; to placing and receiving external calls.
The first step we are going to do is to get a trial account from ClearlyIP Trunking, for this, we need to go to the following link. Once you get into the page, you need to click on the “Start Your Free Trial” button and provide the requested information.
Once, you get the trial access, you must go to this link to login to the portal, and get the required key code for configuring the ClearlyIP trunking add-on.
To get the key code, you must navigate to the menu “Products and Services”, then “Locations.” Here, you will see a list of your available locations. To get the key code for a specific location, you must click on the binoculars icon.
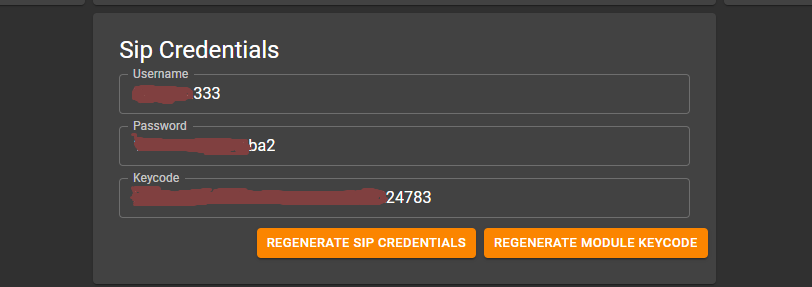
After clicking on the binoculars icon, you will be redirected to a new page from where you will obtain the Keycode. You must copy the string from the keycode field.
Now, that we have our Keycode, we need to go to the VitalPBX GUI and install the ClearlyIP trunking add-on.
To install the add-on you must go to “Admin > Add-ons > Add-ons”, click on the “Clean Cache” button, then click on “Check Online”. Once the add-ons list is refreshed, we must search for the add-on “ClearlyIP Trunking”, as shown below.
To install it, we must click on the cloud icon button located under the actions column.
After the installation is completed, you must refresh the browser, and go to “PBX > ClearlyIP Trunking > General Settings”.
Here, we must place the key code obtained at the beginning of this blog. Then, we must click on the “Connect” button located on the bottom right-hand corner.
The action above will create automatically the Trunks, Inbound Routes, and the Emergency Locations. By default, the inbound routes are forwarded to a destination that plays back the DID number to the caller.
This is how it looks in the “General Settings” module after setting up the Keycode.
Here, you will be able to configure a failover destination in case the trunk is down. This kind of failover can be configured by DID as well.
Now, to finish the configuration, you must click on the “Configure Routes” button. This action will generate all the required outbound routes and emergency numbers associated with the ClearlyIP Trunking services.
Finally, to apply all these configurations on the PBX, we cannot forget to click the red arrow wheel located on the top bar at the right-hand corner.
As you can see, configuring the ClearlyIP trunks on VItalPBX is quite easy with the “ClearlyIP Trunking” add-on. This add-on, will generate all the required configurations in a couple of seconds, and then your PBX will be ready to perform and receive calls.
We’re thrilled to share a series of updates and improvements we’ve rolled out to ensure that your experience with our communication solutions is not only

The VitalPBX team is thrilled to announce the rollout of VitalPBX 4.1 R1, a significant update that brings cutting-edge features and improvements to your communication

PBX System Recognized for Industry Innovation Miami, Florida, 02/27/24 — VitalPBX announced today that TMC, a global, integrated media company, has named VitalPBX Unified Communications